

|
|

Notes From The Trenches – Test Kit ProceduresBy Dave Johnson (DaveJ)
I've seen a lot of questions about tank parameters, testing kits, how-to testing, etc. over the last couple of months. I had some free time tonight so I put together a little photo shoot to go over what I feel is a solid practical and step-by-step process that will work for any test kit out there. Before I begin, I want to say that what you should take away from this article is not a step-by-step of YOUR test kit brand, but a procedure for achieving accurate and consistent results from whatever test kit you are using. Testing...Let's start with your test area... mine looks like a small laboratory as many people have commented on when visiting. I make it a habit of not throwing away any test kit 'stuff' and simply hold onto it, this means vials, test tubes, spoons, stoppers, you name it. You never know when you'll need one or misplace one so having several around is a good thing in my book. 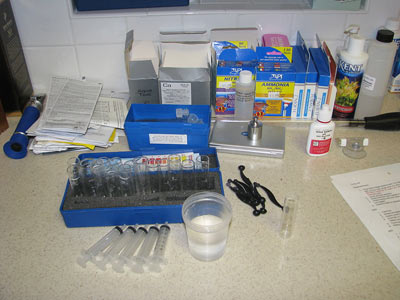
Its important to keep this area clean. You'll spill or knock over a tube from time to time, drip or spill additives etc. All this can contaminate your area, so you want keep it clean. Use a good sponge and hot water to wipe it down before use and use a clean towel or paper towel to wipe it off afterwards. 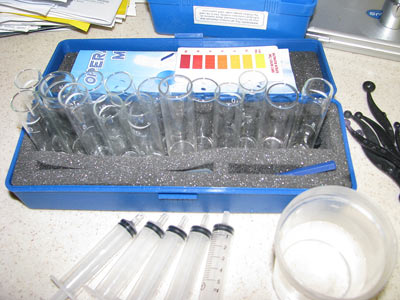
Clean your test tubes and viles regularly. I soak them all in white vinegar once a month or so to keep them as clean as possible. Some of the reagents will leave residue behind, even with washing in water, so you want to remove that as best as possible and the vinegar cuts right through it. Before you begin, rinse the tube in RO/DI water and dab it dry with a towel. Shake it around a bit to get as much water out as possible, but if you have a few drops, it won't make a difference. I usually roll a paper towel and slip it inside, but usually just shake it around until the water comes out. 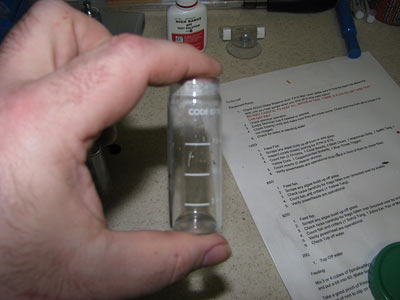
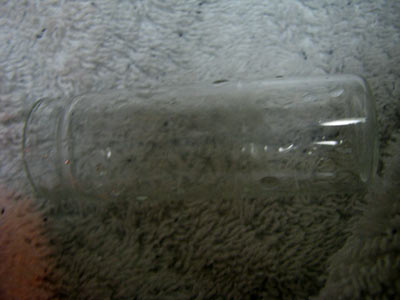
Here is a well-aged, used test tube. You can see the crud around the middle. This has been soaked in vinegar and still refuses to come clean so I use it as a water disposal tube when doing the testing. 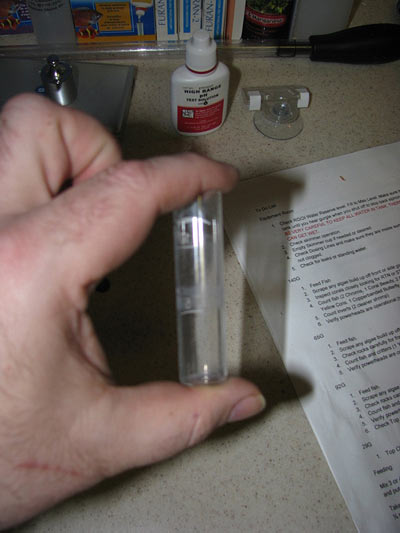
Here is the clean and dry one ready to go.. this wide body tube is my favorite... 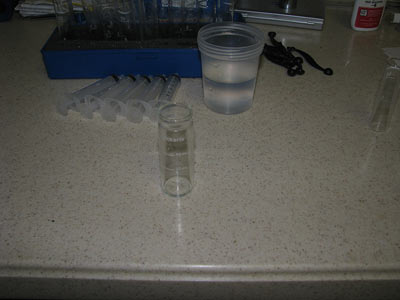
Next, find yourself a water holding vessel, I use this specimen cup but a plastic cup or styrofoam cup will work just as well. I always get the sample in mass, since I do 4 or 5 tests at once and walking back and forth to the tanks gets to be a pain. Use the big plunger hypo to measure your water out. I stopped using the marks on the tubes themselves as they have been inaccurate in the past. The hypos have always been accurate and consistent in their measuring, but there is a trick to them that you need to be aware of. 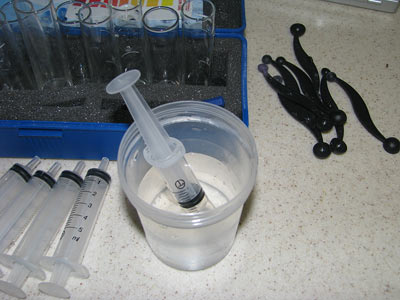
When you suck up the water, you will usually get a little air in the hypo. Don't panic and don't squirt it back into your sample water. Simply hold it vertically and tap it on the side with your finger until the air bubble rises to the tip. Plunge it slightly until you get a nice air-free bubble on the tip and you are ready to get rid of the excess to get the measurement you need. 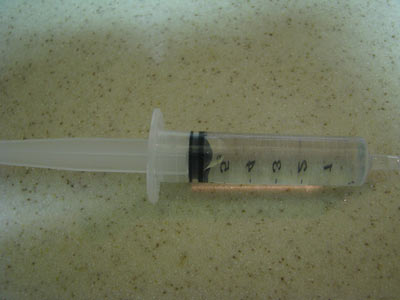
Tap tap tap.... 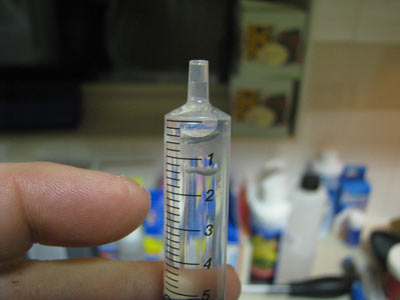
A little push and no more air... that bubble like thing you see in the photo is actually water on the side of the hypo... See the little air free bubble at the tip?? That is what you are looking to duplicate. 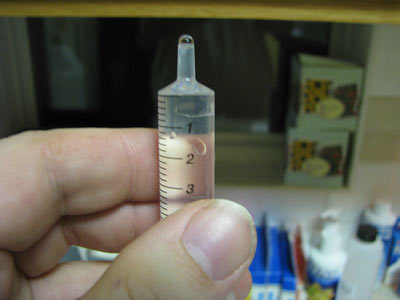
Now comes the part that seems to throw many a folk off, even the vets out there (you know who you are). What is the proper plunge level for the reading? In these hypos you'll notice that the plunger tip (black) is often curved. Since this is the case, you want to push the plunger until the bottom of the black convex section is just above the measuring point. Not the bottom of the black rubber itself... just the bottom of the curved section. Note the arrow below. 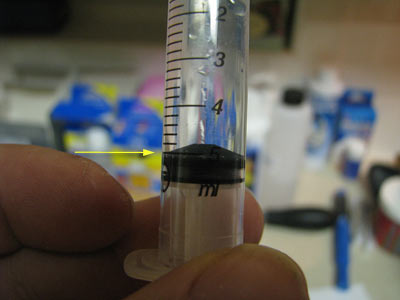
Next, slowly push the water into the test tube. Don't thrust it in there as you may spill/splash some. Just a nice slow steady drop or stream will do. 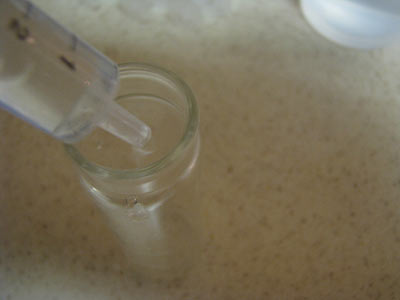
And voila! Your test tube is now full. This tube happens to be accurate, another reason it is my favorite. 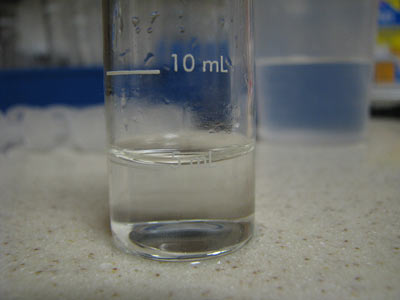
Next is to grab your testing reagent, Elos KH in this case. Shake that baby up well... all reagents should be shaken well before use even if they don't say so in the instructions. 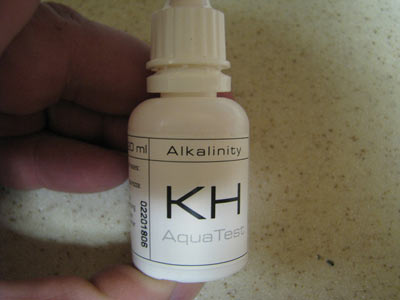
Hold the dropper in a semi-vertical position and gently squeeze the drop out. It is important you don't squeeze too hard or too fast, as you can end up with a squirt or a fizzy spittle. You want a nice clean full drop and let it go on its own. Gravity is our friend here... don't shake it or use the side of the vile to get it off the dropper. 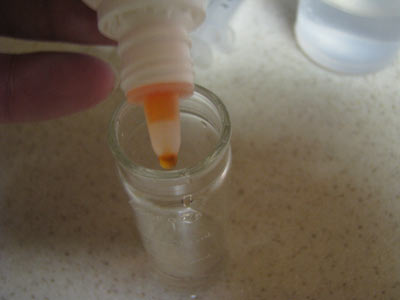
Swirl the vial slowly and gently to get the reagent to mix... and see what happens. Based on the instructions of your particular test kit, you should see colors start to appear. Continue the dropping test per your instructions until you get the number of drops needed or the color change you need on your test. In this case it goes from blue to yellow... after 10 drops. 10dkh... just where I want it. 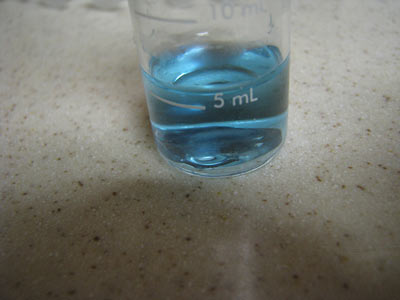
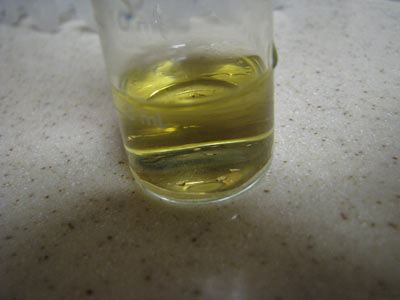
Now for the clean-up... simply pour it into the sink and wash with warm water, then towel dry as much as possible and place it back into its bed with its buddies for the next time. 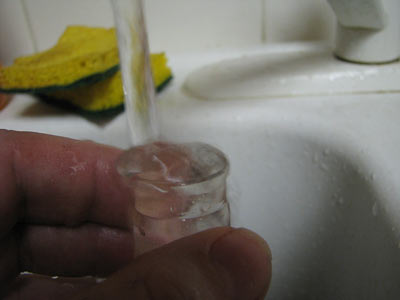
That's it...... simple no?? Develop a routine and follow it the same way each time. I can't stress enough the need for consistent usage of test kits. A little change here, a little change there and your readings could be off. Now some further advice... save all the documentation for your kits. Each time you buy a new one, replace the previous instruction flyer with the new one. The manufacturers sometimes redo their processes and steps, so having a current one on hand is important so you don't get it wrong. Each time you buy a new kit, read the instructions and then compare it to the old one to make sure you understand what has changed, if anything. 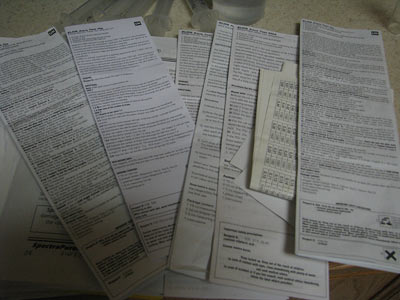
Keep all of these together or in the boxes, along with the color charts. Your test kit will be pretty useless if you don't have those handy or have lost them. Keep them dry and keep them safe.... Lastly.... wipe down the area and wash your hands. Don't leave kits or vials, droppers and powders open. Always close the bottles tight after use. Many of the substances used in these kits are dangerous and/or poisonous. You don't want a child or animal to come along and ingest any of it. Test kits for the most part are pretty straight forward and easy to use, but its easy to get into a rut or form bad habits. Guessing doses, drops and volumes will cause you pain down the road, so develop good habits and procedures that work for you. In the long run, you will be happy. Most importantly, perform your tests on a regular basis and maintain your levels as best as possible. A quick hit on those parms are as follows.... some variations are fine but these should be your 'targets' for healthy fish and corals.
As I said above, these are basic guidelines and numbers may vary, but if you plan on keeping a happy and healthy tank, getting the numbers above will keep you on the right track and you can adjust as needed based on your critters and your experience level. If you have any questions or comments about this article, please visit this thread in the Chemistry forum on Reef Central. |
|
|
|
|